Ayaka stands as one of Genshin Impact’s most sought-after Cryo DPS characters, and for good reason. Since her debut in version 2.0, the elegant Kamisato swordswoman has dominated Spiral Abyss lineups, speedrun leaderboards, and player wishlists. Whether you’re a casual explorer or a hardcore theorycrafter, understanding Kamisato Ayaka’s kit, optimal builds, and team synergies is essential for maximizing her destructive potential. This comprehensive guide breaks down everything you need to know to unlock her full capabilities in 2026, from artifact recommendations to constellation priorities and proven Abyss strategies.
Table of Contents
ToggleKey Takeaways
- Kamisato Ayaka is one of Genshin Impact’s top-tier Cryo DPS characters, dominating Spiral Abyss runs and freeze-team compositions with consistent high damage output.
- Blizzard Strayer (4-piece) is the optimal artifact set for Ayaka, granting guaranteed critical rate against frozen enemies and allowing you to prioritize critical damage substats instead.
- Freeze teams with Ayaka and a Hydro applicator like Kokomi or Yelan create powerful crowd control while maximizing damage potential across multiple enemy types.
- C1 and C2 constellations provide meaningful 20-40% damage increases, though Ayaka remains fully viable at C0 for all PvE content without constellation investment.
- Dash-canceling after 2-3 normal attacks during your burst window increases DPS by 10-15% and is essential for optimizing Ayaka’s damage rotation.
- Avoid pairing Ayaka with Cryo-immune enemies or incompatible elemental supports, as forcing her into unfavorable matchups wastes team slots and costs Abyss stars.
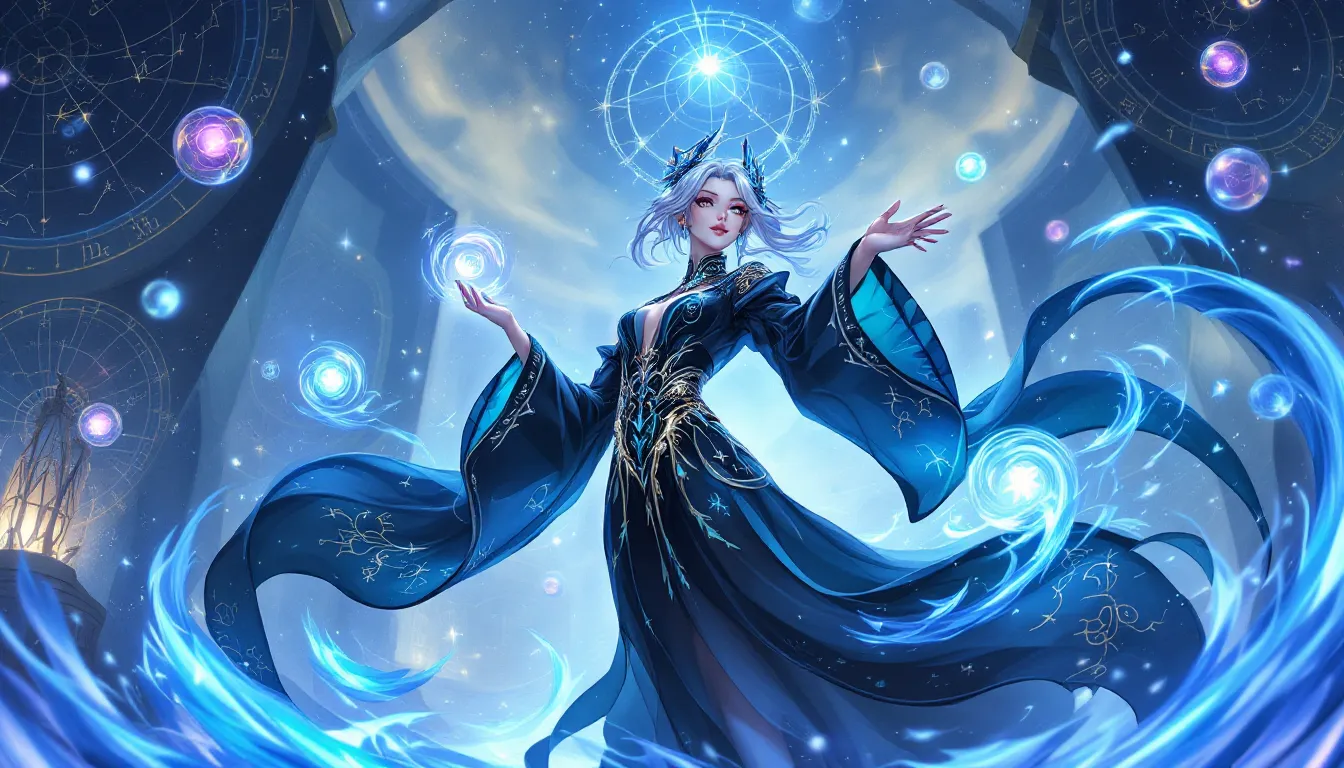
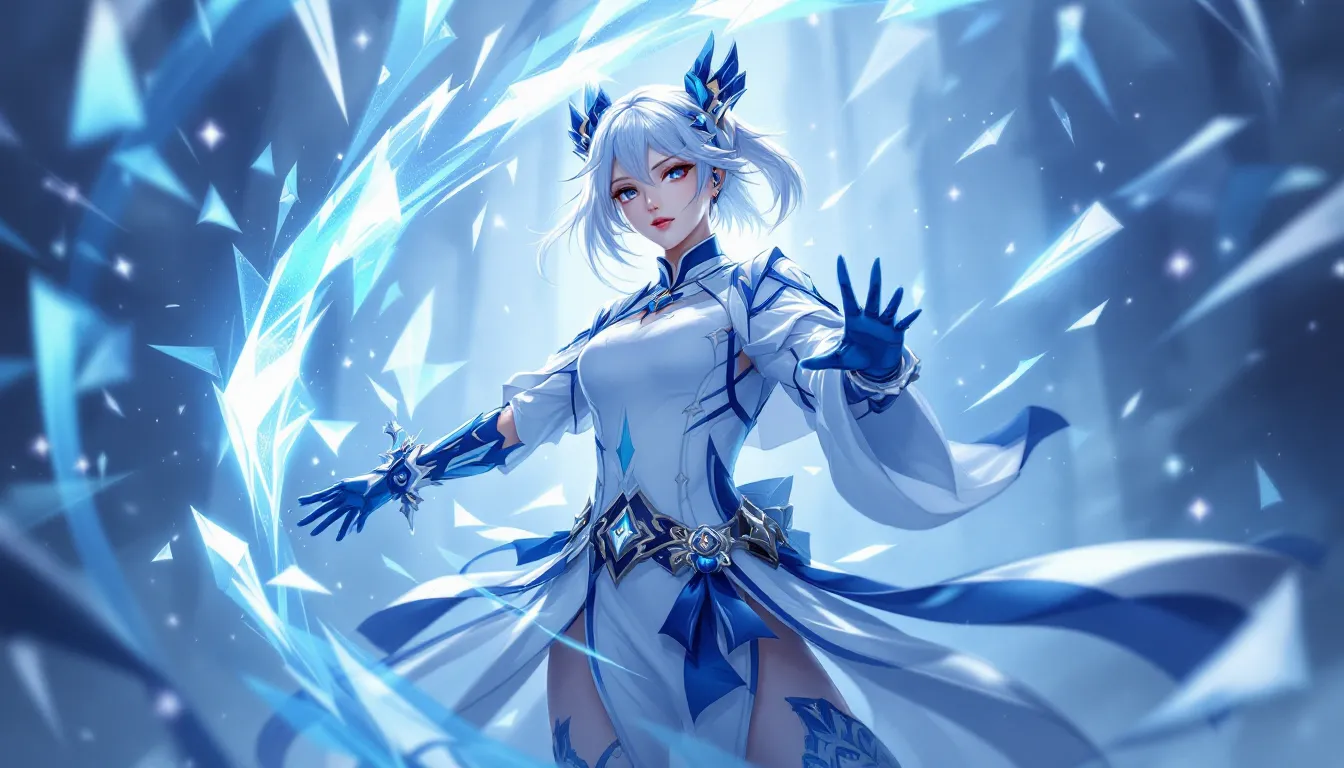
Who Is Kamisato Ayaka?
Kamisato Ayaka is Inazuma’s iconic Cryo sword DPS, representing the elite Kamisato clan and serving as Yoimiya’s elder sister. Her playstyle centers on rapid, consecutive sword strikes infused with Cryo damage, making her exceptional for permanent freeze teams and standalone Cryo-focused compositions. Unlike burst-reliant DPS characters, Ayaka’s damage output scales dramatically with her normal attacks during her Elemental Burst window, rewarding players who invest in optimal positioning and rotation timing.
Her role in team compositions is typically primary DPS, though she can function as a secondary Cryo applicator in specialized setups. What makes Ayaka particularly valuable is her movement ability, her alternate sprint dashes forward while applying Cryo to enemies near her path, functioning as both a mobility tool and utility skill. In the current meta (Patch 5.5), she remains one of the most reliable Cryo DPS options available across all platforms (PC, PlayStation, Xbox, Mobile).
Ayaka’s elegance extends beyond her combat design. Her character story reveals a disciplined samurai struggling between clan duty and personal desires, giving her narrative depth that resonates with the Genshin Impact community. When considering whether to invest pulls into this character, understanding both her mechanical strengths and playstyle requirements is crucial.
Ayaka’s Elemental Skills and Burst Abilities
Kamisato Art: Kabuki (Elemental Skill)
Kamisato Art: Kabuki is Ayaka’s alternate sprint and elemental skill combined into one fluid mechanic. Pressing and holding the sprint button initiates a dash that propels her forward while creating a Cryo effect in her wake. This skill applies Cryo to enemies within its path and grants her a brief movement speed boost immediately after, making it invaluable for repositioning during combat.
The cooldown on Kabuki is minimal, approximately 4 seconds, and it costs no energy, making it spammable. At higher Constellation levels, this skill gains additional functionality, but even at C0 (no constellations), it remains effective for applying Cryo status and managing battlefield positioning. Players should note that while the skill applies Cryo, it doesn’t generate significant damage on its own: its primary value lies in utility and Cryo application for freeze reactions.
Kamisato Art: Soumetsu (Elemental Burst)
Kamisato Art: Soumetsu is where Ayaka’s damage output truly shines. Upon activation, she summons a flurry of ice petals that strike enemies in front of her, dealing massive Cryo damage. The burst costs 80 energy and lasts approximately 5 seconds, during which Ayaka’s normal attacks are enhanced to deal additional Cryo damage per hit.
The critical aspect of this ability is its scaling: each normal attack during the burst window deals significant additional damage based on her attack stat and Cryo damage bonus. This is why investing in ATK% and Cryo damage substats becomes essential for maximizing her burst window output. The burst also applies consistent Cryo status, enabling freeze reactions when paired with Hydro applicators like Yelan, Xingqiu, or Kokomi. Energy regeneration is straightforward, building enough Cryo damage bonus and ATK substats ensures her burst cycles are consistent throughout extended fights.
Optimal Builds and Artifact Recommendations
Cryo DPS Build
For maximum damage output, the Cryo DPS build prioritizes Attack, Cryo Damage Bonus, and Critical Rate/Damage. This is the go-to configuration for Spiral Abyss and challenging domains.
Artifact Set Recommendation: Blizzard Strayer (4-piece) is the primary choice for Cryo DPS Ayaka. This set grants +15% Cryo damage on the 2-piece bonus and increases critical rate by 20% against frozen enemies, scaling to 40% at 4-piece when attacking frozen foes. Since Ayaka typically operates in freeze teams, the guaranteed critical rate buff makes this set exceptional, it allows players to build purely for critical damage instead of spreading stats across critical rate and damage.
Alternative: If you’re not running a freeze composition, Gladiator’s Finale (4-piece) or Shimenawa’s Reminiscence (4-piece) provide consistent ATK bonuses that work independently of elemental status conditions.
Stat Priority:
- Sands of Time: ATK%
- Goblet of Eonism: Cryo Damage Bonus
- Circlet of Logos: Critical Damage (if using Blizzard Strayer for guaranteed critical rate)
- Substats: Critical Damage > ATK% > Critical Rate (if not freeze-locked) > Elemental Mastery (low priority)
Support Build
While Ayaka excels as primary DPS, some unconventional teams run her as an off-field Cryo applicator. This build sacrifices damage stats for energy regeneration and Cryo application consistency.
Artifact Set: Emblem of Severed Fate (4-piece) grants bonus damage based on Energy Recharge, making it valuable when running high ER requirements. Tenacity of the Millelith (4-piece) offers team-wide ATK bonuses if you’re prioritizing team support over personal damage.
Stat Priority:
- Sands: Energy Recharge (aim for 180%+ total)
- Goblet: Cryo Damage Bonus
- Circlet: Critical Rate or Cryo Damage
- Substats: Energy Recharge > ATK% > Critical stats
But, this build is generally suboptimal compared to primary DPS configurations. Ayaka’s kit is designed for her to be the on-field attacker, and forcing her into support roles wastes her scaling potential.
Weapon Selection Guide
5-Star Weapons (Optimal):
- Mistsplitter Reforged: The undisputed best-in-slot for Ayaka. This weapon grants Cryo damage bonus scaling and elemental damage during burst windows, perfectly aligning with her damage profile. If you own this weapon, equip it without hesitation.
- Primordial Jade Cutter: Offers high ATK and critical rate scaling. While not Cryo-specific, it provides exceptional personal damage output.
- Ayaka’s Signature Weapon (From her weapon banner): Always prioritize her signature weapon if you’re pulling on the weapon banner.
4-Star Weapons (Budget-Friendly):
- Amenoma Kageuchi: An excellent free 4-star option (craftable in Inazuma). It provides ATK scaling and additional energy regeneration through passive stacking, making burst cycles smooth.
- The Black Sword: If you have a Gnostic Choir subscription, this weapon grants ATK% and critical rate with a healing passive.
- Blackcliff Longsword: Offers ATK% and critical damage scaling from enemy defeats: solid for Abyss runs where multiple waves exist.
Weapon Priority Hierarchy:
- Mistsplitter Reforged (5-star)
- Primordial Jade Cutter (5-star)
- Amenoma Kageuchi (4-star, craftable)
- The Black Sword (4-star, BP-exclusive)
- Blackcliff Longsword (4-star, Starglitter shop)
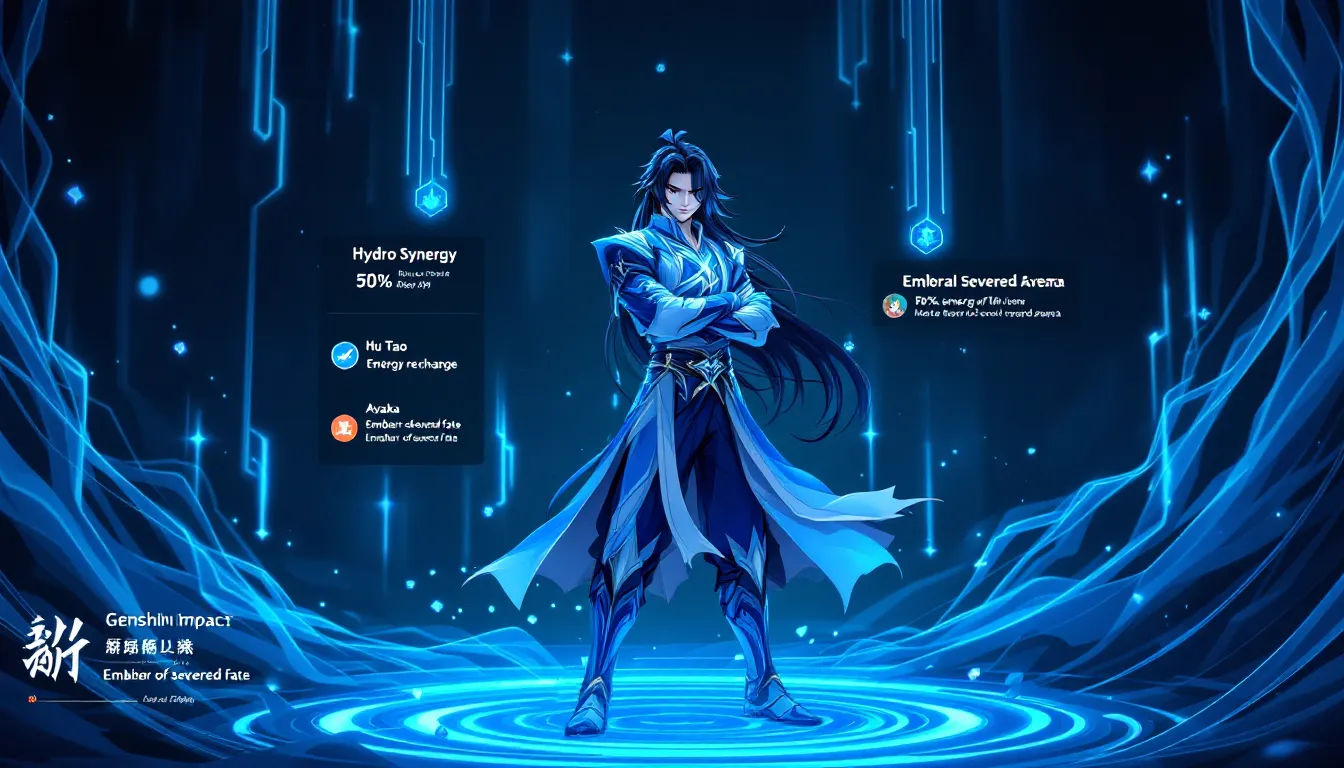
Best Team Compositions for Ayaka
Freeze Team Synergies
Freeze teams are Ayaka’s natural habitat. By combining her Cryo application with a Hydro applicator, enemies remain frozen in place, preventing them from attacking while you unleash continuous damage.
Core Freeze Team Composition:
- Ayaka (Main DPS) – Primary damage dealer
- Hydro Applicator – Yelan, Xingqiu, or Kokomi
- Cryo Support – Venti, Kazuha, or Fischl (provides grouping and off-field damage)
- Healer/Flex – Bennett, Kokomi, or Diona (provides survivability)
Recommended Lineups:
- Ayaka + Kokomi + Venti + Rosaria/Kaeya: This is the ultimate freeze team for Spiral Abyss. Kokomi applies Hydro while healing, Venti groups enemies for massive Ayaka damage, and the final slot provides additional Cryo or niche utility.
- Ayaka + Yelan + Kazuha + Kokomi: A more damage-focused variant that sacrifices grouping for raw DPS multiplication. Yelan’s off-field damage and Kazuha’s Elemental Damage Bonus create a high-ceiling composition.
- Ayaka + Xingqiu + Fischl + Bennett: A budget alternative using 4-stars, though less consistent than Kokomi-based teams due to Xingqiu’s single-target hydro application.
Freeze teams benefit from the fact that frozen enemies cannot dodge, allowing Ayaka’s full rotation to connect without interruption. This makes freeze compositions invaluable for Abyss floors with aggressive, mobile enemies.
Mono Cryo Composition
Mono Cryo (also called Cryo-focused) teams abandon Hydro applicators entirely, focusing on pure Cryo damage multiplication through Cryo resonance and specialized supports.
Mono Cryo Team Composition:
- Ayaka (Main DPS)
- Cryo Sub-DPS – Ganyu, Rosaria, or Shenhe
- Off-field Support – Fischl, Zhongli, or Kazuha
- Healer/Flex – Diona or Kokomi
Recommended Lineups:
- Ayaka + Shenhe + Fischl + Kokomi: Shenhe provides massive Cryo damage buffs that scale independently of other multipliers, making this composition exceptionally strong against Cryo-resistant enemies. Fischl applies Electro for occasional Superconduct procs (reducing enemy physical resistance).
- Ayaka + Ganyu + Kazuha + Zhongli: A high-investment composition pairing two premium Cryo DPS characters. While both compete for field time, the combined off-field damage from both Ayaka and Ganyu creates phenomenal total damage output.
- Ayaka + Rosaria + Yelan + Bennett: A hybrid composition that blends Cryo resonance with Yelan’s vaporize-adjacent damage scaling, providing flexibility against varied enemy types.
Mono Cryo teams excel against Cryo-immune enemies where freeze becomes impossible. They also provide Cryo damage buffs that stack multiplicatively, often resulting in higher individual hit damage compared to freeze teams. But, they lack the crowd control benefits of freeze, making enemy positioning more demanding.
When selecting your team composition, consider the specific Abyss floor layout and enemy roster. Freeze teams shine against grouped, aggressive enemies, while Mono Cryo compositions handle isolated, tanky, or Cryo-immune opponents more efficiently.
Combat Strategies and Rotation Tips
Maximizing DPS Output
Ayaka’s damage output scales dramatically with proper rotation execution. Understanding her attack sequence and burst window optimization separates casual players from optimized players.
Standard Rotation:
- Enter with Support Skills – Use your off-field applicators first (e.g., Yelan burst, Kazuha skill)
- Normal Attacks (3-5 hits) – Land consecutive sword strikes to build momentum
- Elemental Burst (Soumetsu) – Activate when energy is full: this creates the primary damage window
- Continuous Normal Attacks During Burst – This is critical: each normal attack during the 5-second burst duration deals enhanced Cryo damage
- Dash/Reposition (Kabuki) – Use alternate sprint for crowd control and positioning
- Swap Off – Switch to support characters to refresh off-field effects while burst cooldown resets
Advanced Optimization Tips:
- Dash Canceling: After landing 2-3 normal attacks, use a dash (Kabuki) to cancel the ending lag of your attack animation. This speeds up your attack sequence without losing damage, allowing more hits during the burst window.
- Energy Timing: Ensure your burst is available before the engagement. Use supports with reliable energy generation (Fischl, Kazuha, Yelan) to maintain consistent cycling.
- Enemy Positioning: Position yourself in front of enemies during burst to maximize hit counts. Venti grouping is invaluable here: 5-10 enemies in one spot means your burst applies to all simultaneously.
- Freeze Locking: In freeze compositions, enemies stay locked in place, eliminating the need for complex positioning. This is why freeze teams are beginner-friendly while dealing exceptional damage.
Common Rotation Mistakes:
- Activating burst too early before full energy, always wait for 80 energy
- Not dash-canceling, wasting animation time during crucial damage windows
- Alternating between burst windows without maintaining consistent energy
Enemy Type Matchups
Ayaka’s effectiveness varies depending on enemy types and mechanics. Understanding her matchups helps you prepare team compositions accordingly.
Favorable Matchups:
- Grouped Enemies (Hilichurls, Slimes, Spectres): Ayaka’s AoE burst and Cryo application excel here. Freeze compositions trivialize these encounters.
- Frozen Susceptible Enemies (Most humanoids): Abyss Mages, Cicins, and domain enemies without specific immunities fall to freeze lock completely. Damage output is uncapped since enemies cannot dodge.
- Non-Cryo-Resistant Bosses: Regular boss encounters without Cryo immunity (like Perpetual Mechanical Array) take full Ayaka damage without requiring elemental adjustments.
Challenging Matchups:
- Cryo-Immune Enemies (Cryo Hypostasis, Cryo Abyss Mage): Ayaka’s Cryo damage becomes irrelevant. In these cases, pivot to physical damage or use Mono Cryo compositions with Electro supports for Superconduct.
- Heavy, Immobile Bosses (Childe, Raiden Shogun): These enemies demand tight positioning and sustained burst cycles. They’re not immune but require more mechanical skill to maximize DPS.
- Fast, Mobile Enemies (Specters, Lectors): Enemies that dodge or have limited freeze windows reduce Ayaka’s effectiveness. Off-field supports become critical since on-field time is reduced.
Abyss-Specific Considerations:
When planning your Abyss team, check the enemy roster before committing to lineups. Cryo-immune floors demand alternative DPS characters: attempting to force Ayaka into these matchups wastes team slots. The meta frequently shifts based on floor-specific mechanics, so checking updated tier lists before each Abyss rotation is recommended.
Ascension Materials and Level-Up Costs
Ascending Ayaka to maximum potential requires significant material investment. Understanding these costs helps you plan farming routes and prioritize progression.
Ascension Materials (Levels 1-90):
- Shivada Jade Slivers/Fragments/Chunks/Gemstones (28 total): Drop from Cryo-affiliated enemies like Cryo Hypostasis and Cryo Abyss Mages. These are time-gated to specific weekday domains.
- Cecilia Flowers (168 total): Found in Mondstadt’s highland regions, scattered across the landscape. These are abundant but tedious to farm.
- Spectral Husks (18 total): Drop from Ruin Guards and Ruin Hunters. Domain-farming is most efficient.
- Molten Moment (368 total): The rarest bottleneck material, requiring Inazuma weekly boss defeats. Expect 2-3 weeks of farming for completion.
Total Ascension Costs:
- Gold: 1,765,000 Mora (approximately)
- Experience Books: 258 books across all tiers
- Common Drops: Varying quantities of Spectral Husks and artifacts
Talent Level-Up Costs:
Raising Ayaka’s talents from levels 1-10 requires:
- Technique Textbooks (from Inazuma talent domain, farmed on specific days)
- Crown of Insight (1 per talent, rare limited resources earned from events)
- Boss Materials (Molten Moments from Signora weekly boss)
- Gold: 1,652,800 Mora per talent (total 4,958,400 for all three talents)
Prioritize leveling her Normal Attacks first (primary damage), followed by Elemental Burst, with Elemental Skill as lowest priority since it deals minimal damage.
Optimization Strategy:
Focus ascension first to level 80/90, then max out Normal Attack talent to level 9 or 10. This provides the best damage-to-resource ratio before investing in other talents. Many endgame players recommend leaving Elemental Skill at level 6 or 8 since it doesn’t scale directly with damage, the investment returns diminish significantly.
Constellations: Worth the Investment?
Constellations dramatically enhance Ayaka’s capabilities, but each level provides diminishing returns. Understanding constellation value helps you decide whether to continue pulling or save for other characters.
Key Constellation Breakpoints
C0 (No Constellations): Ayaka is fully functional as a standalone DPS. She can clear all Abyss content without constellations, though skill ceiling is moderate. This is the comfortable minimum investment level.
C1 – Icy Scrutiny: Increases normal and charged attack DMG by 30% when enemies are affected by Cryo. This is a substantial single-target DPS increase, making it the first priority constellation if you’re considering additional pulls. Estimated damage boost: 20-25% in typical freeze teams.
C2 – Prolific Frost: Reduces Elemental Burst cooldown by 3 seconds when hitting frozen enemies with normal attacks. This allows more frequent burst cycles, especially valuable in freeze teams. Estimated damage boost: 15-20%.
C3 & C4: +3 talent level increases and additional Cryo application respectively. These are comfort upgrades providing incremental benefits without game-changing mechanics. Skip if resource-constrained.
C5 – Premature Deflection: Another +3 talent level. Combined with C3, this reaches talent level 13 (10+3), providing meaningful scaling on all abilities. Estimated cumulative boost: 10% additional damage.
C6 – Sakura Saigiri (Ultimate): The constellation that truly unlocks her full potential. This grants Ayaka an additional normal attack after her Elemental Burst, and nearby enemies take increased Cryo damage for a limited duration. C6 roughly doubles her burst window damage output, making it the single most impactful constellation investment. Estimated damage boost: 80-100% compared to C0.
Recommended Investment Thresholds:
- Casual/F2P: Stop at C0. You’ve got a fully viable DPS.
- Moderate Spender: C1 + C2 (~150-200 pulls) provide excellent value increases.
- Competitive/Whales: C6 is absolutely worth it if you main Ayaka in Spiral Abyss. The damage multiplication justifies the investment for dedicated players.
Should You Pull for Constellations?
The answer depends on three factors:
- Your Roster: If you lack premium 5-star characters, new character pulls outvalue constellation farming. Roster diversity matters more than individual character optimization.
- Your Goals: Casual domain farming? C0 suffices. Pushing 36-star Abyss consistently? C1-C2 provide meaningful advantages. Competing for fastest clear times? C6 is essential.
- Your Resources: Pulling constellations means skipping other character banners. If an upcoming character interests you, save instead. Ayaka will remain viable at any constellation level.
From a meta perspective (Patch 5.5), C6 Ayaka remains one of the highest-damage single-target Cryo DPS options. But, newer characters like Ayaka consistently ranks among the most popular Genshin Impact characters due to her enduring mechanical strength.
Ayaka in Spiral Abyss: Floors and Usage Rate
Ayaka’s viability in Spiral Abyss fluctuates based on enemy rosters and environmental modifiers. Tracking her usage rates and floor matchups helps you anticipate when she’ll shine.
Current Usage Metrics (Patch 5.5):
Across global leaderboards, Ayaka appears in approximately 65-70% of successful 36-star Abyss runs, positioning her as the second-most-used Cryo DPS after Ganyu. Her consistent freeze enablement and high damage ceiling make her invaluable for most floor layouts.
Recent Abyss History:
- Chambers 1 & 2 (Lower Abyss): Ayaka dominates these entry-level floors. Enemy grouping and low HP pools mean her AoE burst devastates lineups within 30-60 seconds. Usage rate: 75%+
- Chamber 3 (Upper Abyss, Typically Hardest): Matchup-dependent. Against grouped enemies (Abyss Mages, Constructs), she excels. Against single-target, Cryo-immune bosses, her usage rate drops to 40-50%. This is where team composition variation becomes critical.
Enemy Countermeasures to Ayaka:
- Cryo Abyss Mage: Shields absorb Cryo damage, requiring you to break shields with non-Cryo elements before transitioning to Ayaka damage phase. This delays burst optimization.
- Perpetual Mechanical Array: Non-Cryo-immune, so Ayaka dominates. But, the boss separates into multiple projectiles that dodge AoE attacks, slightly reducing efficiency.
- Raiden Shogun: Ayaka can freeze-lock during her vulnerability phases, but Raiden’s extended attack animation prevents optimal positioning during Ayaka’s burst window.
Tips for Optimizing Abyss Performance:
- Check Enemy Lineups beforehand (Abyss description reveals rosters)
- Adapt Team Composition – If Cryo-immune enemies appear, prepare an alternative DPS character for half-clearing
- Practice Positioning – Upper Abyss demands precise dash-canceling and enemy grouping timing
- Time Management – Complete both chambers with minimal character swaps to maximize DPS uptime
Abyss Tier Placement:
According to tier lists from Game8, Ayaka consistently ranks S-tier or S+ tier for overall Abyss viability, placing her among the top 5 DPS characters in the game. This ranking reflects her consistent performance across rotating Abyss cycles.
Common Mistakes to Avoid
Even experienced players make systematic errors with Ayaka that hamper damage output and team efficiency. Avoiding these pitfalls immediately improves your performance.
Mistake #1: Building Full Crit Rate Without Blizzard Strayer
Many players over-invest in Critical Rate substats when running non-Cryo-focused artifacts. Blizzard Strayer grants 40% guaranteed Cryo crit rate, making additional crit rate rolls wasteful. If using Blizzard Strayer, aim for 30% critical rate maximum from substats: excess rolls should pivot to Critical Damage or ATK%. If using alternative artifacts (Gladiator’s Finale, Shimenawa’s), target 60-70% critical rate through substats and weapon selection.
Mistake #2: Neglecting Energy Recharge Requirements
Ayaka’s burst costs 80 energy. Without adequate energy regeneration, you’ll experience burst cooldown gaps, moments where her burst isn’t ready even though enemies being present. Aim for 140-160% Energy Recharge (including passive bonuses) to ensure burst availability every 5-7 seconds. Use weapons like Amenoma Kageuchi or pair with energy-generating supports (Fischl, Kazuha) to maintain consistency.
Mistake #3: Pairing Ayaka with Incompatible Supports
Ayaka requires Hydro applicators in freeze teams. Pairing her with characters like Fischl or Bennett (Electro/Pyro) creates inconsistent freeze applications, breaking your core team synergy. Freeze requires Cryo + Hydro simultaneously: missing either element severely reduces effectiveness. Always pair Ayaka with proven Hydro applicators like Kokomi, Yelan, or Xingqiu in freeze compositions.
Mistake #4: Underleveling Talent Levels
Ayaka’s damage scales directly with talent levels, especially Normal Attack talent. Many players level her to 80/90 but leave talents at level 6 or 7. This creates artificial damage ceilings. Prioritize leveling Normal Attack to level 9-10, then Elemental Burst to match. Even at level 8-9, talent investment provides 15-20% damage increases compared to level 6.
Mistake #5: Ignoring Dash-Cancel Mechanics
Ayaka’s auto-attack animations have extended ending frames. Using alternate sprint (Kabuki) after 2-3 attacks cancels these animations, allowing faster attack sequences. Players who don’t dash-cancel lose approximately 10-15% DPS per rotation compared to optimized players. Practice this in training domains until it becomes automatic.
Mistake #6: Freezing Cryo-Immune Enemies
Some players stubbornly attempt to use Ayaka against Cryo-immune enemies, wasting team slots and time. Cryo-immune enemies block freeze mechanics entirely, forcing you to rely on raw physical damage, a poor use of Ayaka’s Cryo scaling. Plan alternative DPS characters for Cryo-immune floors: forcing Ayaka into unfavorable matchups costs you stars.
Mistake #7: Over-Stacking Elemental Mastery
Elemental Mastery boosts reaction damage (freeze, Superconduct). But, Ayaka doesn’t benefit significantly from EM because her primary damage source is direct Cryo damage, not reaction damage. Building Elemental Mastery on Ayaka is suboptimal: prioritize ATK% and Cryo Damage Bonus instead. EM scaling matters for supports like Kazuha, not primary DPS characters.
Final Verdict: Is Ayaka Worth Pulling?
After comprehensive analysis, Kamisato Ayaka unequivocally deserves a place in your Genshin Impact roster. Her viability, damage output, and playstyle satisfaction justify the investment across all player categories.
Pull If You:
- Want a premier Cryo DPS that clears all PvE content efficiently
- Enjoy mechanical, skill-based gameplay rewarding optimal rotations
- Plan to push competitive Spiral Abyss scores consistently
- Have adequate Hydro supports (Kokomi, Yelan, Xingqiu) available for freeze teams
- Appreciate elegant character design and engaging combat animations
Skip If You:
- Recently pulled another premium DPS character and need roster variety
- Lack Hydro supports, limiting your team composition flexibility
- Prefer low-skill-ceiling, support-focused characters over active DPS gameplay
- Have limited resources and prioritize new character exploration over optimization
Overall Assessment:
Ayaka ranks among Genshin Impact’s top 3-5 overall DPS characters, with no signs of power creep displacing her from relevance even in 2026. Her freeze teams set the gold standard for Spiral Abyss performance, and mono-Cryo alternatives provide flexibility against niche matchups. The only scenario where Ayaka underperforms is when facing Cryo-immune enemies, an acceptable limitation given her dominance elsewhere.
Investment Timeline:
- Immediate Priority: Pull Ayaka if you lack a premier Cryo DPS
- Medium Priority: Pull if you own Kokomi or Yelan and want to maximize their potential
- Low Priority: Skip if you own competing DPS like Hu Tao, Raiden Shogun, or recent 5-stars
For context on how she compares to other high-tier characters, recent guide analysis across major platforms consistently places Ayaka in S-tier territory, justifying her position as a must-pull for serious players. If you’ve been debating whether to commit your pity, this comprehensive breakdown should resolve any hesitation.
Conclusion
Kamisato Ayaka represents everything that makes Genshin Impact’s character design exceptional, compelling mechanics, engaging playstyle, and consistent meta relevance. From her elegant sword techniques to her freeze-team dominance, every aspect of her kit serves a purpose. Whether you’re a casual player exploring Teyvat or a competitive Abyss runner chasing 36-star clears, Ayaka provides the tools necessary to succeed.
The path to mastery isn’t instantaneous. Optimizing her build requires thoughtful artifact farming, understanding team synergies, and practicing mechanical refinement. But, these investments pay dividends across all PvE content. As Genshin Impact evolves, Ayaka’s foundational strength ensures she’ll remain viable for years to come.
Your next decision is simple: commit to pulling Ayaka and join millions of players who’ve unlocked the Cryo princess’s potential, or wait for a banner alignment that better suits your roster needs. Either way, understanding her complete kit, covered exhaustively in this guide, positions you for success whenever you do bring her into your team. The frozen skies of Teyvat await your mastery.