Mona has quietly become one of Genshin Impact’s most irreplaceable characters, sitting at the intersection of utility, damage amplification, and elemental flexibility. Whether you’re running vaporize teams, freeze compositions, or electro-charge setups, Mona’s Omen debuff and off-field Hydro application make her fit almost everywhere, and when she fits, she fits well. In 2026, with balance shifts and new characters constantly reshaping the meta, understanding how to build and deploy Mona separates players who slot her in from those who actually maximize her potential. This guide breaks down everything from her mechanics to advanced rotations, constellation priorities, and how she stacks up against the ever-growing roster of Hydro supports.
Table of Contents
ToggleKey Takeaways
- Mona’s Omen debuff provides a universal 30-60% damage buff (scaling with constellation level) that benefits every team member, making her invaluable across vaporize, freeze, and electro-charge compositions.
- Build Mona with Emblem of Severed Fate, 160-200% Energy Recharge, and Elemental Mastery substats—crown her Elemental Burst first since it directly scales her Omen effect and reaction contributions.
- Mona’s off-field Hydro application is slower than Xingqiu or Yelan, but this advantage allows her to pair with other Hydro supports and avoid reaction waste in freeze and electro-charge teams.
- Timing is critical in vaporize rotations: cast Mona’s Burst 0.5-1 second before your DPS’s main attack lands to maximize the 4-second Omen window and damage multiplier.
- Constellation C3 is the realistic breakpoint for serious players, granting +3 Burst level for a 60% Omen buff; C6 fundamentally changes her playstyle by doubling phantom application but is optional for casual content.
- Thrilling Tales of Dragon Slayers remains competitively viable as a 3-star weapon alternative, providing 48% ATK to your DPS—many speedrunners use it over 5-star options due to superior utility.
Who Is Mona and Why She Matters
Character Overview and Rarity
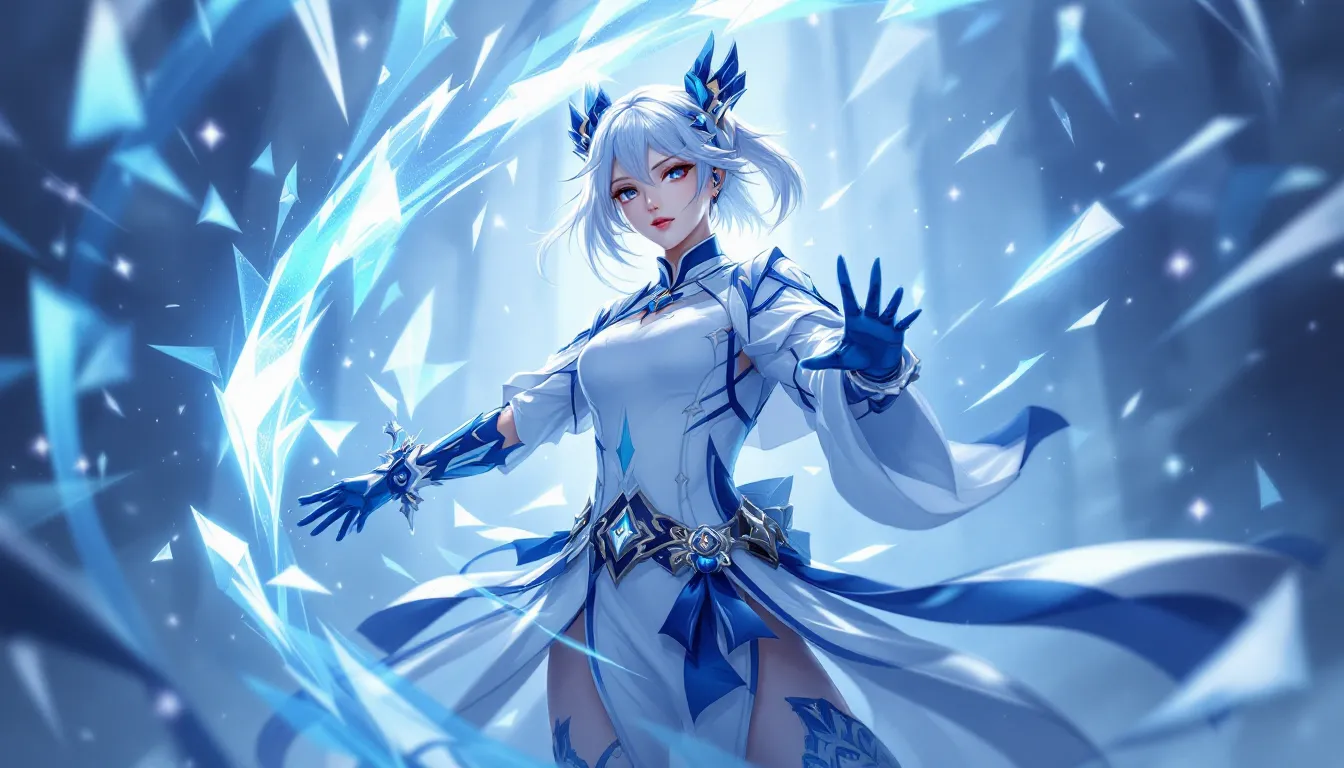
Mona is a 5-star Hydro catalyst user from Mondstadt, debuting at Genshin Impact’s global launch. She belongs to the Astrologer archetype, characters who excel at off-field support while maintaining viable on-field DPS in a pinch. Her rarity guarantees she’s not easy to obtain, but her long history and consistent viability mean players who have her rarely regret the investment.
What makes Mona stand out isn’t raw power but efficiency. She applies Hydro at a measured pace, quick enough to trigger elemental reactions consistently, slow enough to avoid overkilling reaction potential. Her personal damage matters less than the damage amplification she enables, which is the hallmark of true supports. At base level, her stats skew toward Energy Recharge and Elemental Mastery, setting her up naturally for the role.
Why Mona Is Essential for Multiple Team Archetypes
Mona’s versatility stems from three core strengths: Omen debuff, consistent off-field Hydro application, and absurd Energy Recharge scalability. The Omen effect increases all damage taken by enemies for 4 seconds, a buff that benefits every team member, from main DPS to sub-carries. This makes her invaluable in compositions where multiple party members are dealing damage during her buff window.
In vaporize teams, Mona enables Pyro DPS characters like Hu Tao or Alhaitham (vape variant) to trigger consistent vaporize reactions while the Omen debuff multiplies the resulting damage. In freeze teams, she applies Hydro for the freeze reaction while her buff amplifies cryo damage. Even in electro-charge comps, where her Hydro application triggers reactions with off-field Electro, the Omen debuff turns a good team into a great one.
The beauty is that Mona doesn’t demand on-field time. She enters, uses her Skill and Burst, applies buffs, then steps out, typically in 3-5 seconds. This gives her exceptional “slot efficiency,” meaning she takes up one team slot but performs the utility role of multiple support types. For players managing limited 5-star rosters, Mona fills gaps and unlocks team variety in ways few other units can match.
Mona’s Abilities and Mechanics Explained
Normal Attack and Charge Attack Mechanics
Mona’s normal attacks and charge attacks are relevant primarily when she’s being deployed as an on-field Sub-DPS or during downtime between rotations. Her normal attack, Ripple of Fate, fires Hydro projectiles that deal modest damage and apply Hydro on hit. Charge attacks conjure a larger projectile with slightly higher Hydro application.
Neither is a priority in support builds, you’re rarely extending Mona’s field time to chain charge attacks. But, they do mean she’s not completely dead weight if your main DPS needs a quick swap or if you need to reposition. The Hydro application, while slow, is reliable for setting up reactions if needed.
Elemental Skill: Phantom Embrace
Phantom Embrace is Mona’s on-demand Hydro application tool. She teleports backward up to 8 units and summons a watery phantom that applies Hydro to nearby enemies. The phantom exists for up to 8 seconds, and if an enemy in range gets hit by Mona’s attack or another party member’s attack while the phantom is active, it deals Hydro DMG based on Mona’s Elemental Mastery (not her ATK, this is crucial for build priority).
This is where Mona’s versatility shines. The Skill doesn’t require her to stay on-field: she can cast it and immediately swap out while the phantom works. The Hydro application is consistent, not rapid-fire, meaning she won’t “waste” application in scenarios where your elemental reaction enabler can’t keep up. The passive healing (from her A1 passive) grants 15% more Movement Speed for 8 seconds after using the Skill, making her slightly more practical for overworld exploration.
Damage-wise, the phantom’s scaling off EM means building Elemental Mastery directly improves her support contribution, even on characters who aren’t primarily built for offensive reactions.
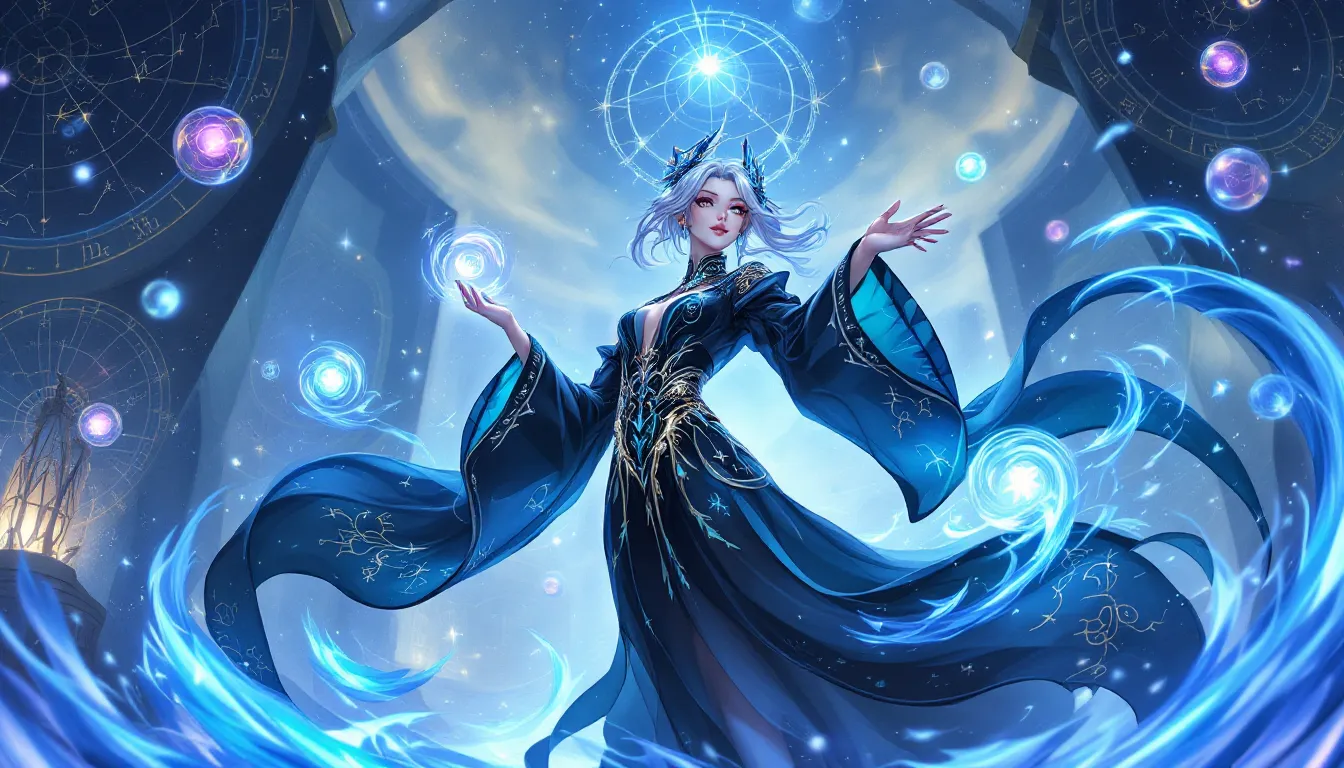
Elemental Burst: Stellaris Phantasm and Omen Damage Boost
Stellaris Phantasm is the reason Mona appears on almost every high-level guide and speedrun. She summits a realm around her, trapping enemies inside while applying Hydro. After the realm’s duration (3 seconds base), it detonates, dealing AoE Hydro DMG based on her max HP and Elemental Mastery.
The trap is significant: enemies can’t leave the circle easily, and it groups them for followup damage, invaluable for teams relying on grouped targets. But the real power is the Omen effect that lingers after the detonation. For 4 seconds, all enemies affected take increased damage from all sources. At base level, this is a 30% damage increase: it scales with his Burst level and doesn’t cap, Mona at Burst level 13 (C3 passive) grants a 60% buff, which is obscene.
The timing is crucial. Because Omen lasts exactly 4 seconds post-detonation, you’re queuing Mona’s Burst to buffer DPS windows, not to frontload damage. In vaporize teams, this means casting Burst, swapping to your Pyro DPS, and chaining high-damage hits during the buff window. In freeze, you’re timing it so your Cryo DPS gets the full 4-second window. Mess up the timing, and you’re wasting seconds of the buff.
One often-overlooked detail: the trap damage scales from max HP and EM, not ATK. This makes Mona’s burst scaling independent of traditional damage stats, which frees up stat allocation for Energy Recharge and EM, both priorities in her role.
Best Build Recommendations for Mona
Artifact Sets and Stat Priorities
Mona’s artifact build varies slightly depending on team role, but core priorities remain consistent. The standard approach uses Tenacity of the Millelith or Emblem of Severed Fate. Tenacity grants 20% HP and, when off-field, increases all party members’ ATK by 20%, this is pure team support. Emblem boosts Energy Recharge and scales Burst damage off the excess ER, turning ER stacking into offensive contribution.
In practice, Emblem is the safest choice for most players. Its ER-to-damage conversion means over-building ER (which Mona needs anyway) translates to burst scaling without stat waste. If you’re running a full support build without offensive pressure, Tenacity edges ahead for raw team ATK boost.
Substats should prioritize in this order:
- Energy Recharge (aim for 160-180% minimum: 200%+ if Burst uptime is critical)
- Elemental Mastery (200+ for solid phantom and burst scaling)
- HP% or ATK% (secondary damage stat: HP helps with burst detonation damage)
- Crit Rate/Damage (beneficial but deprioritized unless you’re running her as on-field Sub-DPS)
A typical endgame Mona support build looks like: Emblem pieces with ER% timepiece, Hydro% goblet, and Crit Rate/Damage circlet. This balances her energy needs with her reaction and burst contributions.
Recommended Weapons
Mona’s weapon choices reflect her role as a low-field-time enabler, not a primary DPS. Thrilling Tales of Dragon Slayers (3-star, freely available) is deceptively strong: it grants 48% ATK to the next party member for 10 seconds when switched out, essentially a free ATK buffer that stacks on top of Mona’s own support contribution. Many speedrunners use it even though having 5-star options.
For 5-star choices, The Widsith is versatile. It grants random buffs (ATK, Elemental Mastery, or Elemental DMG) every 10 seconds, with uptime every 30 seconds. If Mona’s on-field for short rotations, cycling the Widsith buff is trivial. Kagura’s Verity scales similarly but emphasizes Elemental DMG, more useful if you’re amplifying her burst damage over support utility.
Everlasting Moonglow (her signature weapon) provides the most consistency: it boosts Elemental Mastery directly and amplifies Burst healing and damage. But, it’s only worthwhile if you’re running C2 or higher (which grants healing scaling) or if you’re treating Mona as a significant damage contributor.
The weapons tier out as:
- S Tier: Thrilling Tales of Dragon Slayers, The Widsith
- A Tier: Kagura’s Verity, Everlasting Moonglow, Favonius Codex (for ER if needed)
- B Tier: Mappa Mare, Royal Grimoire (situational, not recommended)
Unless you’re whaling for 5-stars, Thrilling Tales is genuinely competitive and frees up resources for better gear elsewhere.
Energy Recharge and Talent Priority
Mona’s Burst has an 80 Energy cost, the maximum baseline in Genshin. Without external ER sources, hitting consistent Burst uptime is impossible. Most builds target 160-200% ER, which guarantees a Burst every ~10-12 seconds depending on enemy RNG and your party’s particle generation.
Talent priority is straightforward:
- Elemental Burst (primary scaling source: crown this)
- Elemental Skill (secondary EM scaling: level 9 minimum)
- Normal Attack (dump priority: level it last)
The reason is pure math: your burst damage and Omen duration scale directly with burst level, while her skill and normal attacks are support tools. A crowned Burst significantly amplifies team damage, while over-investing in normal attacks yields minimal return. If you’re resource-constrained, Burst 9 and Skill 8 is acceptable: crowning Burst hits diminishing returns only at C3 and beyond (where the passive boosts burst level to 13+).
Top Team Compositions Featuring Mona
Vaporize and Freeze-Based Teams
Mona shines brightest in vaporize comps where she pairs with Pyro DPS like Hu Tao, Lyney, or Alhaitham (vape build). The composition typically looks like: Mona (Hydro applicator) + Pyro DPS + Pyro sub-applicator (Xingqiu, Yelan, or another Pyro) + flex (Kazuha for damage, Zhongli for shield, Bennett for ATK buff).
The rotation is tight: Mona casts Skill, then Burst to trigger Omen, and the Pyro DPS enters to vaporize their hardest hits during the 4-second window. The beauty is that Mona’s slow Hydro application doesn’t compete with other Hydro applicators, both can coexist without waste. Her Omen buff multiplies vaporize multipliers, turning 1.5x reaction damage into effectively 2.1x+ when factoring her debuff.
Freeze teams using Mona as the primary Hydro applicator pair her with Cryo DPS (Ganyu, Ayaka, or Wriothesley) and Cryo supports (Kazuha, Shenhe, or Bennett). Here, Mona’s slow application is perfect, she applies Hydro consistently without overkilling freeze potential. Typical freeze Mona team: Mona + Cryo DPS + Cryo support + flex (Zhongli for disruption resistance, Kazuha for elemental mastery).
The freeze rotation differs: Mona applies Hydro, Cryo DPS or sub-applicator freezes, and sustained damage is the win condition rather than burst windows. Omen is a secondary benefit: the core value is the consistent Hydro application enabling freeze chains. Unlike vaporize, freeze teams benefit from sustained Hydro rather than quick application-and-swap plays.
Among most popular Genshin Impact characters, Mona consistently ranks high in both vaporize and freeze tier lists because of this versatility.
Electro-Charge and Reaction-Heavy Compositions
Mona’s oft-overlooked strength is her role in electro-charge teams. Unlike vaporize, where reaction timing is critical, electro-charge benefits from sustained off-field Hydro application. Mona paired with off-field Electro applicators (Fischl, Nahida in Dendro-Electro comps, or even Clorinde) creates a reaction-heavy core that triggers consistently.
A sample electro-charge team: Mona + Fischl + main DPS (Raiden, Nahida, or Dendro applicator) + flex support. The rotation is looser than vaporize or freeze: Mona cycles her Skill and Burst on cooldown while Fischl’s off-field Electro procs reactions automatically. Omen acts as a multiplier to the sustained damage rather than a burst-window tool.
Electro-charge Mona is underrated because players often assume she’s only for vaporize or freeze. In reality, her off-field Hydro application and Omen debuff make her viable in any reaction-heavy team where Hydro synergy is needed. The con is that electro-charge lacks the massive burst damage ceiling of vaporize, making Mona feel less impactful, but she’s functionally sound.
Buffer Support and Off-Field Hydro Application
In niche scenarios, Mona functions as a pure buffer with minimal offensive expectations. This role emphasizes her Omen debuff and Tenacity of the Millelith build over damage scaling. Example: Mona + Kazuha + Bennett + physical DPS (Eula, Fischl phys build, or Zhongli phys build).
Here, Mona’s Hydro application is almost irrelevant: her role is purely to cast Burst for the Omen buff and let three supports layer their buffs on one DPS. She enables more awkward team combinations by providing versatile support without demanding specific elemental synergy.
This playstyle is common in casual content, overworld exploration, and dungeons where Mona isn’t gated by reaction or application needs. She’s flexible enough to slot into teams where the synergy isn’t perfect and still provide value through raw utility.
With recent balance updates, electro-charge and Dendro reaction teams have become increasingly viable, and Mona’s consistency in these comps has made her more relevant than ever for players experimenting beyond traditional freeze or vaporize.
Ascension, Talents, and Leveling Strategy
Materials and Ascension Requirements
Mona’s ascension path requires Shimmering Nectar (from Hydro Hypostasis), Lampgrass (Mondstadt regional material), and Divining Scrolls (from Hydro Slimes). To max her to level 90, you’ll need:
- 46 Shimmering Nectar (farmed from Hydro Hypostasis in Fontaine)
- 168 Lampgrass (abundant in Mondstadt and nearby regions)
- 18 Divining Scrolls (farmable from any Slime-type enemy)
- 9 Divining Scrolls (Talent leveling)
- Mora (approximately 4.8M total from level 1 to 90 + talents to 9/9/9)
The material grind is reasonable, none of these are particularly rare or time-gated like some newer character materials. Hydro Hypostasis can drop 2-4 Shimmering Nectar per run (resin-dependent), so farming 46 typically takes 12-15 runs with mediocre RNG.
Mona’s leveling priority depends on your playstyle. If she’s a pure support, you can cap her at level 80/90 and allocate resources to talents: if you’re running her as an on-field Sub-DPS, level 90 is worthwhile. For most players, level 80/90 with crowned Burst is the sweet spot.
Optimal Talent Leveling Path
Unlike DPS characters with balanced talent contributions, Mona’s talent leveling is heavily skewed. The priority path is:
- Burst to 10 (crown if possible: this is her primary damage and Omen scaling)
- Skill to 9 (secondary EM scaling: 9 is sufficient, crowning is overkill)
- Normal Attack to 6-7 (dump priority: only level if you have excess materials)
The math is straightforward: Burst levels directly amplify Omen duration and damage. Each burst level adds meaningful scaling to both. Skill levels add EM scaling to the phantom, which compounds with Elemental Mastery substats. Normal Attack levels are almost irrelevant for support Mona.
If you’re supporting a vaporize Hu Tao, for instance, spending 900k Mora to level her Normal Attack from 6 to 9 yields negligible return compared to using that Mora to level her Skill from 8 to 9 or another character entirely. Crown Burst first, optimize Skill second, and only level Normal Attack if you’re swimming in resources.
One note: if Mona hits constellation C3, her Burst level effectively becomes 13 (grants +3 Burst level), so her talent ascension cap increases. This is one of the few constellations that directly impacts leveling efficiency.
Mona Constellations: Is C6 Worth the Investment
Early Constellations That Matter Most
Mona’s constellations are wildly uneven in value. Early ones are marginal: later ones are transformative.
C1 – Prophecies of Watermoon grants 15% Hydro DMG bonus after casting Skill. This is a minor offensive buff: it helps her personal damage but doesn’t amplify team damage. Useful for on-field builds, negligible for pure support roles. Grade: C Tier.
C2 – Lunar Comforter makes her Burst grant a healing bonus scaling with HP, and she heals nearby party members for 20% of her damage dealt. This opens hybrid healer-support builds and adds survivability. Grade: B Tier (quality-of-life improvement, not power-critical).
C3 – Canticle of Howling Wind grants +3 to Elemental Burst, capping it at level 13. This is directly multiplicative to Omen buff damage and duration, making it a legitimate power spike. Grade: A Tier (noticeable damage increase).
C4 – Prophecies of Doom adds a secondary effect to her Skill phantom, reducing enemies’ Cryo and Pyro RES by 20% after being hit. This is situationally powerful in vaporize or freeze teams where you’re stacking elemental damage. Grade: B Tier (context-dependent but solid in specific comps).
Late-Game Constellation Payoffs
C5 – Mockery of Fortuna grants +3 to Elemental Skill, capping it at level 12. Like C3, this is direct scaling to her secondary damage and EM contribution. Useful but less impactful than Burst cap. Grade: B Tier.
C6 – Rhetorical Question is the constellation that reframes Mona entirely. When Stellaris Phantasm detonates, it triggers another instance of her phantom with the same duration, dealing Hydro damage equal to 14% of her max HP. Essentially, it doubles the Skill phantom application and burst area effect.
C6 transforms Mona from a support with decent personal damage to a co-DPS. The doubled phantom application speeds up reactions, the doubled trap area controls enemies more effectively, and the consistent phantom deployment makes her viable as an on-field Sub-DPS. Grade: S Tier (fundamentally changes playstyle potential).
Is C6 worth the investment? For whales and dedicated Mona mains, yes, it’s the cap that unlocks new team archetypes. For casual players with limited primo budget, C3 is the breakpoint where Mona’s support role reaches diminishing returns. Between C3 and C6, each constellation adds incremental value but doesn’t justify the cost unless you’re already committed to heavy investment.
Consensus in the speedrun and high-level community: C3 is mandatory for serious Mona players: C6 is the dream-tier ceiling but not necessary for 99% of content. Most players should stop at C3 and allocate resources elsewhere.
Advanced Tips for Maximizing Mona’s Performance
Rotation and Timing Strategies
Mona’s effectiveness hinges on timing, not raw stats. Understanding rotation windows separates competent Mona players from optimal ones.
In vaporize rotations, the ideal sequence is: Mona Skill → Mona Burst → [immediately swap to DPS] → DPS’s hardest-hitting ability. The goal is to trigger Omen, let the debuff settle for 0.5 seconds, then have your DPS’s damage hit during the 4-second window. Timing matters because if your DPS enters before Burst detonates, the window is wasted. If they enter after detonation delays, you’re losing seconds of buff uptime.
Practically, Mona’s Burst should detonate 0.5-1 second before your DPS’s main attack lands. This requires knowing your DPS’s animation timings, a mechanic that separates casual and competitive play.
In freeze rotations, timing is looser because freeze chains sustain pressure rather than relying on burst windows. You’re casting Mona’s Burst whenever it’s available (usually every 10-12 seconds), applying Hydro consistently, and letting Cryo DPS maintain freeze. There’s less burst-window pressure because freeze is self-sustaining: the Omen buff is a bonus rather than the carry.
Energy management is another layer: if you’re running 160% ER and your Burst comes off cooldown during your DPS’s rotation, you’re forced to either delay the burst or step out early, breaking your DPS’s momentum. Many high-level teams use Favonius Codex or Emblem of Severed Fate to guarantee Burst uptime without over-investing ER, freeing up stat allocation.
Positioning and Artifact Optimization
Mona’s positioning matters more than her raw stats for high-level play. Because her Skill phantom applies Hydro in an AoE, positioning the phantom near grouped enemies maximizes application and reaction procs. Similarly, her Burst’s trap is most effective when enemies are centered, off-center placements waste trap coverage.
In overworld exploration and casually-geared teams, positioning is forgiving. In Spiral Abyss or speedrun challenges, optimizing enemy proximity to Mona’s AoE buffs can shave seconds off clears.
Artifact optimization beyond the stat priority involves min-maxing ER. If you’re hitting 160% ER without ER substats, you can reallocate sands for EM or HP, improving Skill phantom scaling and Burst trap damage. Conversely, if you’re falling short of ER targets, you’re wasting artifact slots on other stats while missing Burst uptime, a bad trade.
One subtle optimization: if you’re running Tenacity of the Millelith, positioning Mona off-field (not attacking) extends the Tenacity buff’s 3-second duration, granting up to 6-8 seconds of ATK boost if timed correctly. This is niche but real in coordinated speedruns.
Mona’s flexibility means there’s no one-size-fits-all build. The best build depends on your team’s ER generation, your DPS’s elemental affinity, and your Abyss layout. A comprehensive guide to elemental mastery and reaction scaling can help contextualize why Mona’s EM scaling matters relative to other supports.
Mona Versus Other Hydro Supports: A Comparison
Mona isn’t the only Hydro support in Genshin, but she occupies a unique niche that’s hard to replicate.
Versus Xingqiu: Xingqiu applies Hydro faster, making him better for rapid-fire attacks (Hu Tao’s fast charged attacks, Alhaitham’s rotation). Mona applies slower but offers Omen, which Xingqiu doesn’t provide. Xingqiu has better survivability (comes with a shield), while Mona is more fragile. In vaporize, both are viable: Xingqiu edges ahead for Hu Tao specifically. In freeze or electro-charge, Mona is superior because her slower application doesn’t waste reactions.
Versus Yelan: Yelan is the newer, more powerful Xingqiu, she applies Hydro at Xingqiu’s speed, grants off-field damage scaling, and provides better utility overall. Mona offers Omen instead of Yelan’s personal damage buff. If you have Yelan, Mona becomes less essential for vaporize (since Yelan covers Xingqiu’s role better). But, Mona + Yelan together is overpowered in vaporize teams because both buff damage while applying Hydro independently.
Versus Kokomi: Kokomi is a healer-support hybrid, enabling freeze and electro-charge teams while providing guaranteed healing and better application uptime. Mona has zero healing, making her riskier in content with high enemy damage. But, Mona’s Omen buff scales better with high-damage teams, while Kokomi’s healing is wasted if your team doesn’t need it. Kokomi is better for survivability: Mona is better for raw damage ceiling.
Versus Nahida (Dendro variant): Nahida is a damage-dealing buffer in Dendro teams, fundamentally different from Mona’s role. They don’t compete because Dendro requires specific elemental synergy. In Dendro-Hydro-Electro (reaction-heavy) teams, Nahida and Mona can coexist, with Nahida handling Dendro application and Mona enabling hydro-electro reactions.
Versus Barbara: Barbara is a 4-star alternative for freeze and electro-charge teams. She’s free, provides healing, and applies Hydro off-field. But, her Hydro application is slow, her Omen equivalent doesn’t exist, and her personal damage is negligible. Barbara is a budget Hydro applicator for players without Mona: once you have Mona, Barbara is outclassed entirely.
Mona’s position in 2026 remains strong because her Omen debuff is unique. No other Hydro support provides a universal damage buff that scales with burst level. This makes her irreplaceable in high-damage comps and speedrun setups. In casual play, other supports (especially Kokomi for survivability) might be more practical. But for min-maxing damage and unlocking specific team archetypes, Mona remains the Hydro support benchmark.
Among Genshin Impact’s broader roster, Mona has remained a staple choice for freeze teams since launch. Similarly, various off-meta Hydro applicators benefit from Mona’s debuff in non-traditional reaction builds. Her staying power across multiple character releases speaks to her design quality.
Conclusion
Mona’s position in Genshin Impact’s ecosystem remains unshaken in 2026 because she solves a fundamental problem: how to amplify team damage while maintaining flexibility across elemental reactions. Her Omen debuff, consistent off-field Hydro application, and exceptional energy recharge scaling make her invaluable in vaporize, freeze, and electro-charge compositions alike.
The build path is straightforward, Emblem of Severed Fate, 160-200% ER, Elemental Mastery substats, and a crowned Burst. Constellations matter, but C3 is the realistic breakpoint for most players: C6 is the ceiling that transforms her playstyle.
What elevates Mona from “useful support” to “essential unit” is her role in high-level play. Speedrunners, Abyss min-maxers, and competitive players across platforms (PC, console, mobile) rely on her because she enables damage multipliers that other supports can’t provide. The margin between a well-built Mona and a mediocre one is 20-30% team DPS difference, measurable, meaningful, and the difference between 36-starring Abyss and clearing it casually.
If you have her, build her. If you’re hunting for her on a rerun, she’s worth the investment. Genshin’s character roster grows every patch, but Mona’s unique value proposition, pure utility without competing for on-field time, keeps her relevant. That’s the hallmark of good game design, and that’s why Mona remains one of Genshin Impact’s most valuable 5-stars.