Elemental reactions are the heartbeat of Genshin Impact’s combat system. They’re the difference between clearing a Spiral Abyss floor with ease and watching your team get wiped by a Ruin Guard. Understanding how elements interact, and more importantly, how to exploit those interactions, separates casual players from those consistently pushing high-tier content. This guide breaks down every core elemental reaction, the mechanics that drive them, and how to build teams that maximize reaction damage for both exploration and endgame challenges.
Table of Contents
ToggleKey Takeaways
- Mastering elemental reactions in Genshin Impact is essential for endgame success, with reaction multipliers ranging from 1.5x to 3x or higher depending on type and Elemental Mastery investment.
- The seven core elemental reactions—Vaporize, Melt, Freeze, Electro-Charged, Overload, and Bloom variants—each serve distinct roles, from burst damage to crowd control to multi-enemy AoE coverage.
- Elemental Gauge Theory determines how long elements persist on enemies and how much elemental charge each application carries, directly impacting reaction consistency and preventing wasted attacks.
- Effective reaction teams require three key roles: a trigger character (applies the second element on-field), enabler characters (apply the first element off-field), and supports that amplify damage through buffs and EM sharing.
- Bloom and its variants (Hyperbloom, Burgeon) have reshaped the Genshin Impact meta by scaling entirely off Elemental Mastery, enabling new team-building opportunities beyond traditional ATK and Crit stat prioritization.
- Team composition strategy must adapt to specific content—Spiral Abyss floors favor either hypercarry single-target reactions or AoE Electro-Charged spreads, while domain farming prioritizes clear speed over survival.
What Are Elemental Reactions and Why They Matter
Elemental reactions trigger when two different elements hit an enemy within a specific time window. Pyro hits Water? That’s Vaporize. Cryo meets Hydro? Freeze locks enemies in place. These reactions aren’t just bonus damage, they’re force multipliers that can turn a mediocre team composition into a powerhouse.
Every team in Genshin Impact, whether you’re exploring Fontaine or tackling Floor 12 of the Spiral Abyss, hinges on elemental synergy. A character like Bennett applying Pyro consistently enables your DPS to trigger Vaporize repeatedly. A support character like Nahida spreads Dendro to enable Dendro reactions that scale with EM (Elemental Mastery) stats. Without understanding reactions, you’re essentially playing with one hand tied behind your back.
The damage multiplier from reactions can range from 1.5x to 3x or higher, depending on the reaction type and your character’s EM. That’s not marginal, that’s the difference between killing a boss in two rotations versus five rotations.
The Seven Core Elemental Reactions Explained
Genshin Impact features seven primary elemental reactions, each with distinct mechanics and damage scaling. Understanding their strengths and limitations is crucial for team building.
Vaporize and Melt: The Burst Damage Reactions
Vaporize (Pyro + Hydro) and Melt (Pyro + Cryo) are the two highest-damage reactions in the game, and they’ve held that position for years. Both scale with EM and multiply your character’s attack damage, making them incredible for single-target burst phases.
Vaporize applies a 1.5x multiplier when triggered by a Hydro applicator and a 2x multiplier when triggered by Pyro. The meta usually favors the 2x version, Pyro triggers Vaporize on existing Hydro, because many Pyro DPS characters have faster, more consistent application. Characters like Hu Tao and Ayaka’s Pyro counterpart benefit massively from this setup.
Melt works similarly: 1.5x when Cryo triggers on Pyro, 2x when Pyro triggers on existing Cryo. The key difference is that Melt suffers from Elemental Gauge Theory limitations more severely than Vaporize, making consistent triggering trickier. Genshin Impact Ayaka: Unleash her Cryo abilities and team synergy to understand how Cryo applicators fit into broader team strategies.
Practical note: Both reactions require precise timing and elemental application rates. If your applicator can’t keep up with your DPS’s attack speed, you’ll “overtrigger”, wasting attacks without reaction multipliers. This is where Elemental Gauge Theory becomes critical, which we’ll cover later.
Freeze: The Control and Crowd-Control Reaction
Freeze (Cryo + Hydro) doesn’t scale with EM and doesn’t amplify damage directly. Instead, it immobilizes enemies for 2-3 seconds, making it the ultimate crowd-control tool. Even though zero damage multiplier, Freeze teams often out-DPS reaction-focused teams because enemies can’t move, attack, or interrupt your positioning.
The reaction is straightforward: apply Cryo to a Hydro-afflicted enemy (or vice versa) and they freeze. You can then use Normal Attacks and Charged Attacks without interruption. Multiple enemies freeze simultaneously if both are Hydro-afflicted, enabling AoE (area of effect) coverage that single-target reactions can’t match.
Freeze scales indirectly through Cryo DMG bonus and ATK stats on your DPS, plus the added safety of enemies being locked down. This makes Freeze viable for newer players and consistent for veterans tackling high-difficulty content. The reaction pairs exceptionally well with sub-DPS supports that apply Hydro off-field, like Xingqiu or Yelan.
Electro-Charged and Overload: Triggering Elemental Chaos
Electro-Charged (Electro + Hydro) creates a small AoE that deals Electro damage and bounces between enemies, hitting them repeatedly as long as both elements persist. It scales with EM and Electro DMG bonus. Unlike Vaporize or Melt, Electro-Charged can trigger multiple times in a single combo, stacking multipliers.
The trade-off is that Electro-Charged’s damage per trigger is lower than Vaporize, but the frequency of triggers on grouped enemies compensates. It’s particularly effective in multi-enemy encounters where the bouncing effect chains continuously.
Overload (Electro + Pyro) detonates an explosion that knocks enemies back and deals Pyro AoE damage. It scales with EM and Pyro DMG bonus. The knockback effect makes Overload problematic in tight spaces or against heavy enemies that can’t be moved, but it excels at grouping scattered enemies and creating breathing room. In organized team compositions with proper positioning, Overload enables consistent damage while maintaining safety through enemy displacement.
Bloom and Its Variants: The Modern Meta Reaction
Bloom (Dendro + Hydro) is the newest reaction family and has fundamentally reshaped Genshin Impact’s meta since its introduction in version 3.0. Bloom creates Dendro Cores on the field that explode after 6 seconds or when hit by a Pyro attack, dealing AoE Dendro damage scaled by EM.
Bloom itself doesn’t require a specific trigger order, any Dendro-Hydro interaction creates cores. But, two variants dominate current strategies:
Hyperbloom converts Dendro Cores into projectiles when hit by Electro, allowing Electro applicators to trigger their own reactions independently. This adds a layer of scaling beyond raw Bloom damage, making Hyperbloom teams exceptionally versatile and strong.
Burgeon occurs when Pyro hits Dendro Cores, causing them to explode immediately and deal additional Pyro damage. The downside is that Burgeon doesn’t stack multipliers as efficiently as Hyperbloom, but in specific team compositions with high Dendro application, it rivals other top-tier reactions.
Bloom reactions scale entirely off EM, meaning characters investing in Elemental Mastery as a primary stat become viable DPS carriers. This opened up entirely new team-building opportunities compared to older systems that favored ATK and Crit stats exclusively.
Building Effective Reaction Teams: Roles and Positioning
Every reaction team requires specific roles to function optimally. Knowing who triggers reactions and who enables them is the foundation of team-building strategy.
The Trigger Character: Who Applies the Second Element
In any two-element reaction, one element exists on the enemy first, and the other triggers the reaction. The trigger character applies the second element and benefits most directly from reaction damage multipliers. In Vaporize teams, a Pyro DPS character is the trigger, applying Pyro to Hydro-affected enemies. In Freeze teams, the Cryo DPS character is the trigger, freezing Hydro-affected enemies.
Trigger characters typically occupy the on-field position (actively attacking). Their attack speed, application frequency, and EM scaling determine how often reactions occur. A fast-attacking character with low EM will trigger more reactions but deal less damage per trigger than a slow character with high EM investment. Finding this balance requires understanding your character’s attack pattern and building accordingly.
When building trigger characters, prioritize ATK and Crit stats for damage, then layer in EM for reaction multipliers. Most endgame teams allocate 100-200 EM through substats and artifact sets before investing in other secondaries.
Support and Enabler Characters: Amplifying Reaction Damage
Enabler characters apply the first element consistently off-field, allowing your trigger DPS to attack without switching. These characters must have high elemental application rates to ensure every attack by your DPS meets an enemy already afflicted with the desired element. Characters like Xingqiu (Hydro), Bennett (Pyro), and Genshin Impact Dehya: Unleash her fiery fury for Pyro application excel at this role.
Enablers don’t need EM investment, they benefit from leveling their ability levels, crit rate/damage for consistency, and Energy Recharge to maintain burst uptime. The secondary goal is to provide utility: Bennett adds ATK buffs, Nahida provides Elemental Damage Bonus, and Kazuha offers both elemental damage and EM sharing to the team.
Optimal enabler placement depends on your DPS’s attack speed and your enemy positioning. In Freeze teams, you need constant Hydro application, so Yelan or Xingqiu’s burst duration and application frequency determine your DPS window. Missing this coordination wastes turn rotations and reduces overall damage per minute (DPM).
Another key consideration: some enablers are off-field applicators (apply element while not on-field), while others require on-field time. Xingqiu is highly efficient off-field: Kazuha needs field time to apply elements properly. Mismatching these with your DPS rotation tanks team efficiency immediately.
Advanced Elemental Reaction Mechanics and Optimization
Once you understand basic reaction triggers, optimizing consistency and damage requires diving into the technical systems underlying application rates and damage calculation.
Elemental Gauge Theory and Application Windows
Elemental Gauge Theory (EGT) is the framework explaining how long elements persist on enemies and how much “elemental charge” each application carries. Every elemental application has a Gauge Unit (GU) value, typically 1 GU, 2 GU, or 4 GU, and enemies deplete this gauge based on trigger reactions.
A Vaporize reaction consumes roughly 0.5 GU of Hydro when triggered by Pyro. If Bennett applies Pyro with 1 GU, and an enemy has 1 GU of Hydro from Xingqiu, a single Pyro hit triggers Vaporize and consumes 0.5 GU Hydro, leaving 0.5 GU persistent. Your next Pyro attack triggers Vaporize again without needing to reapply Hydro. Understanding this rhythm prevents “gauge clipping”, overshooting application and wasting potential triggers.
Higher GU applications (2 GU or 4 GU) from characters’ burst abilities last longer and sustain reactions through longer attack sequences. Hu Tao’s charged attacks consume 1 GU Hydro per hit, so pairing her with a 2 GU Hydro applicator (like C6 Xingqiu) maintains consistency throughout her combo window without requiring reapplication.
Application windows refer to the duration an element stays active on an enemy. If Xingqiu applies Hydro for 15 seconds, that’s your window to trigger Vaporize repeatedly. Once the timer expires, you need a new application. Mastering these windows prevents dead GCD (global cooldown) time where your DPS attacks but no reaction occurs.
Reaction Damage Calculation and Multiplier Scaling
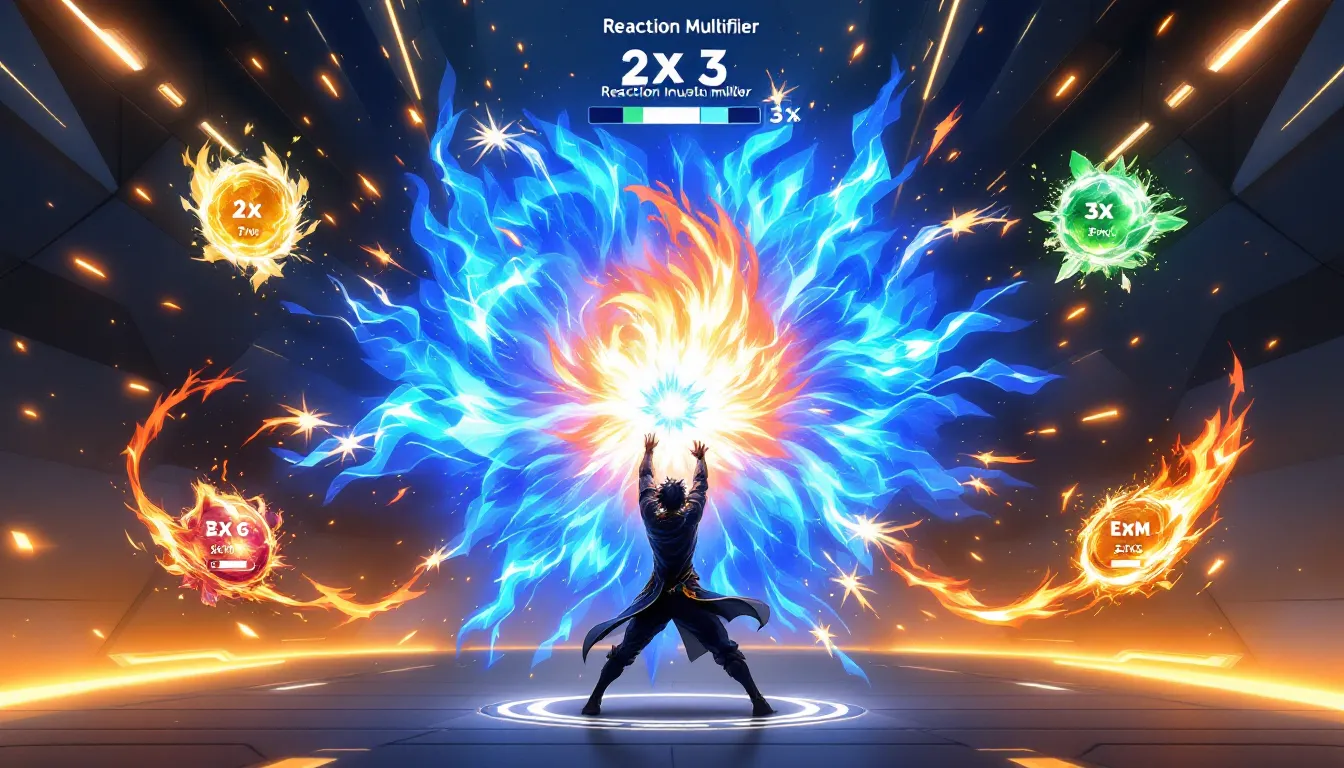
Reaction damage = Base Multiplier × (1 + EM scaling coefficient)
For Vaporize, the base multiplier is 1.5x or 2x depending on trigger order. The EM scaling coefficient is (EM / 100 × 0.25). So a character with 200 EM triggers Vaporize at (2.0 × (1 + 200/100 × 0.25)) = 2.0 × 1.5 = 3x total multiplier.
Dendro reactions scale even higher. Bloom bases at 4 GU damage multiplier and scales 1.2 EM coefficient, making 200 EM yield (1 + 200/100 × 1.2) = 3.4x additional scaling. This is why Dendro enablers like Nahida prioritize EM as their primary stat, reaction damage compounds dramatically.
Buffs from supports also multiply these scalings. Bennett’s ATK buff increases base attack, which multiplies with reaction multipliers. Kazuha’s EM sharing directly increases your DPS’s reaction coefficient. These compounding multipliers are why optimized teams deal exponentially more damage than random collections of high-stat characters.
Calculating damage per rotation requires tracking cooldowns, burst uptime, and application consistency. Most endgame optimizations focus on either maximizing reaction triggers per minute or extending reaction windows without losing position control. Genshin Impact Lore: Unraveling the secrets of Teyvat reveals how character backstories sometimes hint at synergy mechanics, though gameplay takes priority in team building.
Practical Team Composition Strategies for Different Domains and Abyss Floors
Elemental reactions don’t exist in a vacuum, they’re tools shaped by your enemy roster and chamber objectives. Different content demands different reaction strategies.
Spiral Abyss teams typically prioritize two composition archetypes:
-
Hypercarry + Reaction Enabler Teams: One character serves as the primary damage source with one or two enablers supporting reactions. Example: Hu Tao (Pyro DPS) with Xingqiu (Hydro enabler), Zhongli (shielder/universal support), and Kazuha (EM buffer). This setup maximizes single-target damage for tough bosses.
-
AoE Reaction Teams: Multiple characters trigger reactions simultaneously, spreading damage across grouped enemies. Example: Electro-Charged teams with Fischl, Nahida, and Kokomi where both Fischl and Nahida apply their elements off-field, allowing quick reactions on all nearby enemies.
Floors 9-10 usually favor consistent single-target reaction teams because enemies spread out and demand focused damage. Floors 11-12 vary seasonally, sometimes AoE Hyperbloom destroys grouped mobs, sometimes single-target Melt carries you through elite bosses.
Domain farming (artifact and weapon domains) prioritizes speed over survival. Quick reaction teams that clear mobs in one rotation, like Aggravate (Dendro + Electro) with Fischl and Nahida, minimize clear time. Survival mechanics matter less when mobs die before attacking.
World exploration and puzzles require flexibility. Elemental reactions help, but mobility, element coverage for environmental puzzles, and character accessibility often matter more than reaction optimization. A casual team that covers all seven elements beats a hyperoptimized single-reaction team when you need Pyro to ignite torches and Cryo to freeze water passages.
When building for specific content, cross-reference enemy types and phases. Genshin Impact Albedo: Mastering the Geo genius reveals how off-element characters still fill unique roles, Geo characters don’t trigger elemental reactions but provide shields and off-field damage. Balancing reaction optimization with defensive utility and flexibility separates theoretical “best” teams from practical teams that actually clear difficult content reliably.
Resources like Game8’s tier lists and build guides provide updated meta recommendations per patch, though the fundamental reaction principles outlined here remain stable across patches. Pocket Tactics’ mobile gaming guides also cover Genshin Impact strategies if you’re playing on mobile devices, where performance sometimes influences rotation speed and reaction consistency.
The meta shifts regularly, patch 4.7 might favor Hyperbloom dominance, while 5.0 could shift toward new Cryo Freeze variants after new character releases. But understanding core reaction mechanics ensures you can adapt your teams quickly rather than memorizing static tier lists. Twinfinite’s game guides frequently update with seasonal meta shifts, helping players stay current on emerging strategies.
Conclusion
Mastering elemental reactions transforms Genshin Impact from a beautiful open-world game into a strategically rich experience where team composition directly determines your ceiling. The difference between a player understanding Elemental Gauge Theory and one who doesn’t is the difference between consistent 36-star Abyss clears and frustrating wipes on floor 12.
Start by identifying which reaction aligns with your main DPS character. Hu Tao mains build Vaporize teams. Ayaka mains gravitate toward Freeze. Genshin Impact Aether: Unraveling his epic journey reveals protagonist flexibility, Aether can support nearly any reaction through Dendro or Electro applications, making him an exceptional enabler for newer players experimenting with different teams.
Layer in EM investment proportionally based on your reaction type and DPS character, then round out your team with enablers that provide consistent element application. Test your team in lower-difficulty domains first, mistakes in Abyss waste time and frustration points better spent optimizing rotations.
As new characters release and patches shift balance, these reaction fundamentals remain your foundation. Master them, and you’ll adapt to any meta shift without panic. Ignore them, and even five-star character rosters won’t carry you through endgame content. The choice is yours, but the reaction system rewards knowledge and strategy above all else. Emilie Genshin Impact: Unleash her whimsical powers and combat strategies to see how newer characters still leverage these foundational reaction systems. Genshin Impact Lynette: Unleash her unique combos and strategies exemplify how even contemporary characters integrate into time-tested reaction frameworks. Genshin Impact Sethos: Discover his unique abilities to understand how Electro applicators enable Hyperbloom and Overload strategies that remain viable across all content.
The systems are complex, but the payoff, consistent, high-damage teams that reliably clear any challenge Teyvat throws at you, makes the learning curve absolutely worthwhile.