

In the high-stakes world of Rainbow Six Siege, knowing your spawn locations can mean the difference between a glorious victory and a quick trip back to the respawn screen. Imagine this: you’re gearing up, heart racing, and the last thing you want is to be caught off guard by a sneaky opponent who knows the map better than their own living room. With the right spawn knowledge, players can outsmart their enemies and dominate the battlefield.
Overview of Rainbow Six Siege Spawn Locations
Spawn locations play a crucial role in Rainbow Six Siege strategy. Players start at predetermined spawn points depending on their team and map. Familiarity with these locations boosts a player’s ability to plan their approach and execute tactics effectively.
Maps contain various spawn areas, including exterior points and entryways. Knowing the range of positions allows players to anticipate enemy movements and adjust plans accordingly. Each map features unique spawn configurations, enabling gameplay variation.
This knowledge helps players avoid common ambushes. For example, operators can choose spawns that minimize exposure while maximizing chances for advantageous positions. Using the right spawn points enables players to gain intel early in the match.
Additionally, recognizing potential choke points is vital. Players should be aware that some spawn locations offer cover while others do not. Understanding cover options often improves survival rates in the initial moments of a round.
Engaging with spawn knowledge fosters better teamwork. Communicating spawn points with teammates ensures coordinated actions, creating a unified strategy. Players can inform their teammates about risks and opportunities presented by different spawn positions.
In competitive play, a well-coordinated approach to spawn locations often determines match outcomes. Variability in operator selection and preferred spawn points can create diverse strategies. Adapting based on map-specific conditions gives teams a significant edge during gameplay.
Importance of Spawn Locations
Understanding spawn locations significantly impacts player success in Rainbow Six Siege. Knowledge of these areas can prevent ambushes and enhance tactical decisions.
Strategic Advantages
Familiarity with spawn locations offers various strategic advantages. Players reduce the risk of being flanked by enemies when they know where they spawn. Awareness of potential sightlines allows for better positioning and engagement choices. Effective use of spawn points creates opportunities for quick map control, giving teams the upper hand. Each map’s unique layout requires players to adapt their strategies based on spawn configurations. This adaptability can change the pace of the game and increase survival chances during critical early moments.
Common Misconceptions
Many players incorrectly assume that all spawn points are inherently safe. The reality is that some locations expose players to enemy fire, especially if opponents anticipate movements. It’s a misconception that any spawn point guarantees safety and cover. Recognizing choke points and high-traffic areas is essential for avoiding early engagements. Additionally, familiarity with enemy spawn locations can provide insights into anticipated player actions. Clear communication about potential threats and spawn choices fosters a cohesive team strategy during gameplay.
Major Maps and Their Spawn Locations
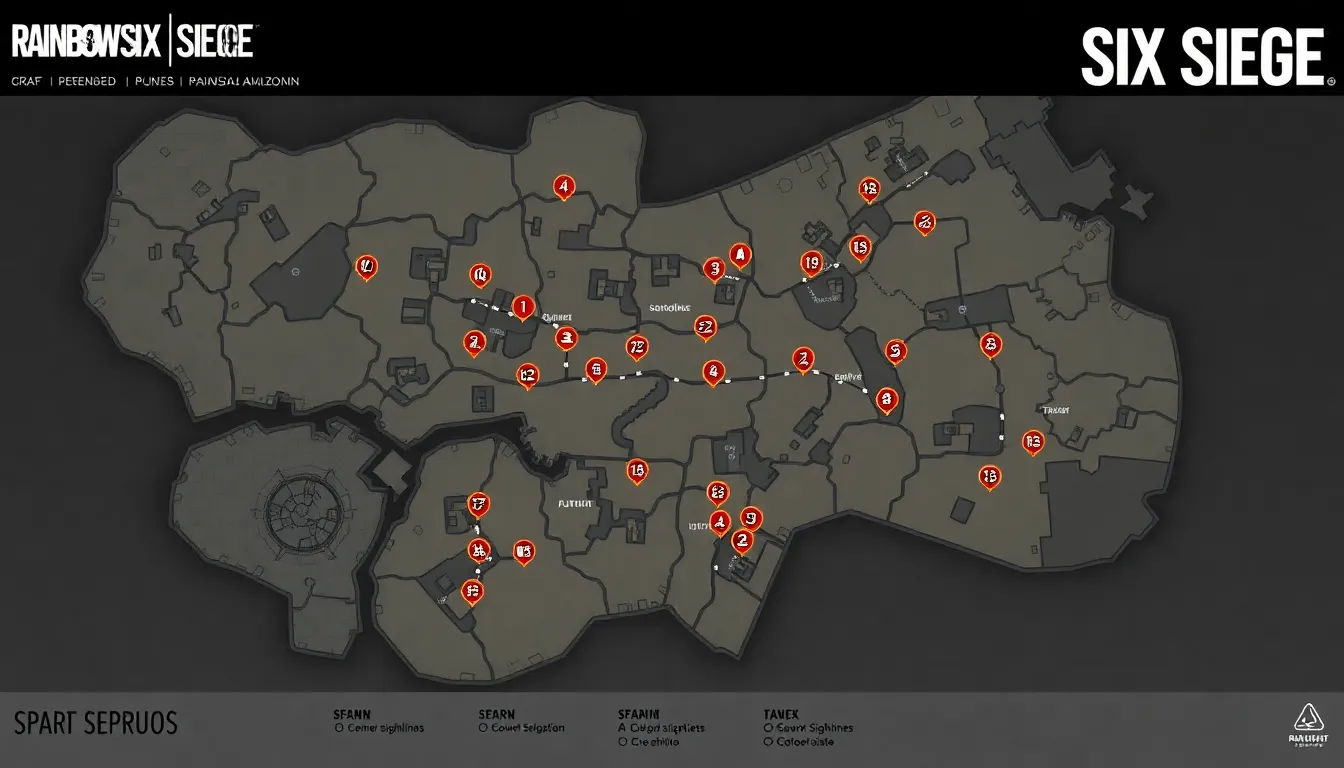
Understanding spawn locations on major maps in Rainbow Six Siege is essential for effective gameplay. Familiarity with each map enhances strategic planning and execution.
Map 1: Bank
Bank features several key spawn points for attackers. Players can spawn outside the East Entrance, the Parking Lot, or the West Entrance. Each of these locations offers unique advantages. The East Entrance provides a direct route to the main floor, while the Parking Lot allows for quick flanking maneuvers. Spawn choices should consider potential enemy positions, especially snipers on rooftops or windows. Effective team communication about these spawn points can significantly improve chances of a successful attack.
Map 2: Chalet
Chalet also presents diverse spawn locations for attackers. Common options include the Garage, the Front Door, and the East Balcony. Each spawn point comes with its own risk. The Garage offers cover but can lead to early engagements with defenders near the main entrance. The Front Door is accessible but exposes players to potential traps. Smart players use the East Balcony for a stealthier approach, enabling a more tactical opening to the house. Awareness of defender placements enhances strategic decisions during each round.
Map 3: Oregon
Oregon includes distinct spawn points that dictate initial tactics. Attackers can choose from the West Side or the East Side. The West Side allows players to approach the house with concealment, although defenders may hold strong positions inside. The East Side provides closer access to key objectives. Rushing from this point might surprise defenders positioned outside, gaining an early advantage. Recognizing possible defender movements from these spawn points remains crucial for gameplay success.
Tips for Optimizing Spawn Location Usage
Optimizing spawn locations greatly improves chances for success in Rainbow Six Siege. Players must focus on communication and adaptability.
Communicating with Your Team
Effective communication significantly enhances team coordination. Sharing spawn point choices fosters collective planning, allowing teams to strategize and execute tactics in unison. Informing teammates about chosen locations helps prevent overlapping spawn spots, reducing the risk of ambushes. Team members should regularly update each other on enemy movements, as this knowledge enables informed decisions about how to approach objectives. Using voice chat or team messaging to relay critical information streamlines tactical execution. Prioritizing clarity and quick responses ensures the team can adjust to changing situations, improving overall performance.
Adapting to Opponent Strategies
Adapting strategies based on opponent behavior is essential. Observing enemy movements during early engagements can reveal their preferred spawn locations. Players benefit from tracking where opponents commonly appear, as this allows for better positioning and anticipation of enemy actions. Adjusting tactics and spawn selections when recognizing patterns can lead to strategic advantages. Players should also counteract popular strategies by employing different operators or utilizing unconventional spawn points. Adjustments based on in-game feedback can shift the momentum, complicating opponents’ strategies and enhancing team efficacy.